Post-processing your Revit drawings is a fun process; who doesn’t love to let their inner artist express themselves! A common way people post-process from Revit is to export their drawings into Photoshop or Illustrator for their post processing workflow. But we often need to make changes to our drawings along the way, or we might need to create high quality presentations on a tight timeframe. In university or with competitions you tend to have more time and reason for spending time on the drawings’ visual styling, but when doing those project drawings for clients on a deadline, visuality sadly often takes a hit.
Moving between multiple programs can also be an expensive hassle. A Revit license is expensive enough, but also having to pay for a Creative Cloud license might be too much for students or starting entrepreneurs in the architectural field.
It’s often overlooked as a method and might suprise some, but you can create visually post-processed looking images right within Revit! And the best part: it’s very fast to do, it’s lightweight in regards to file size and it allows for constant changes.
Let’s explore how.
A Proper Library is Key

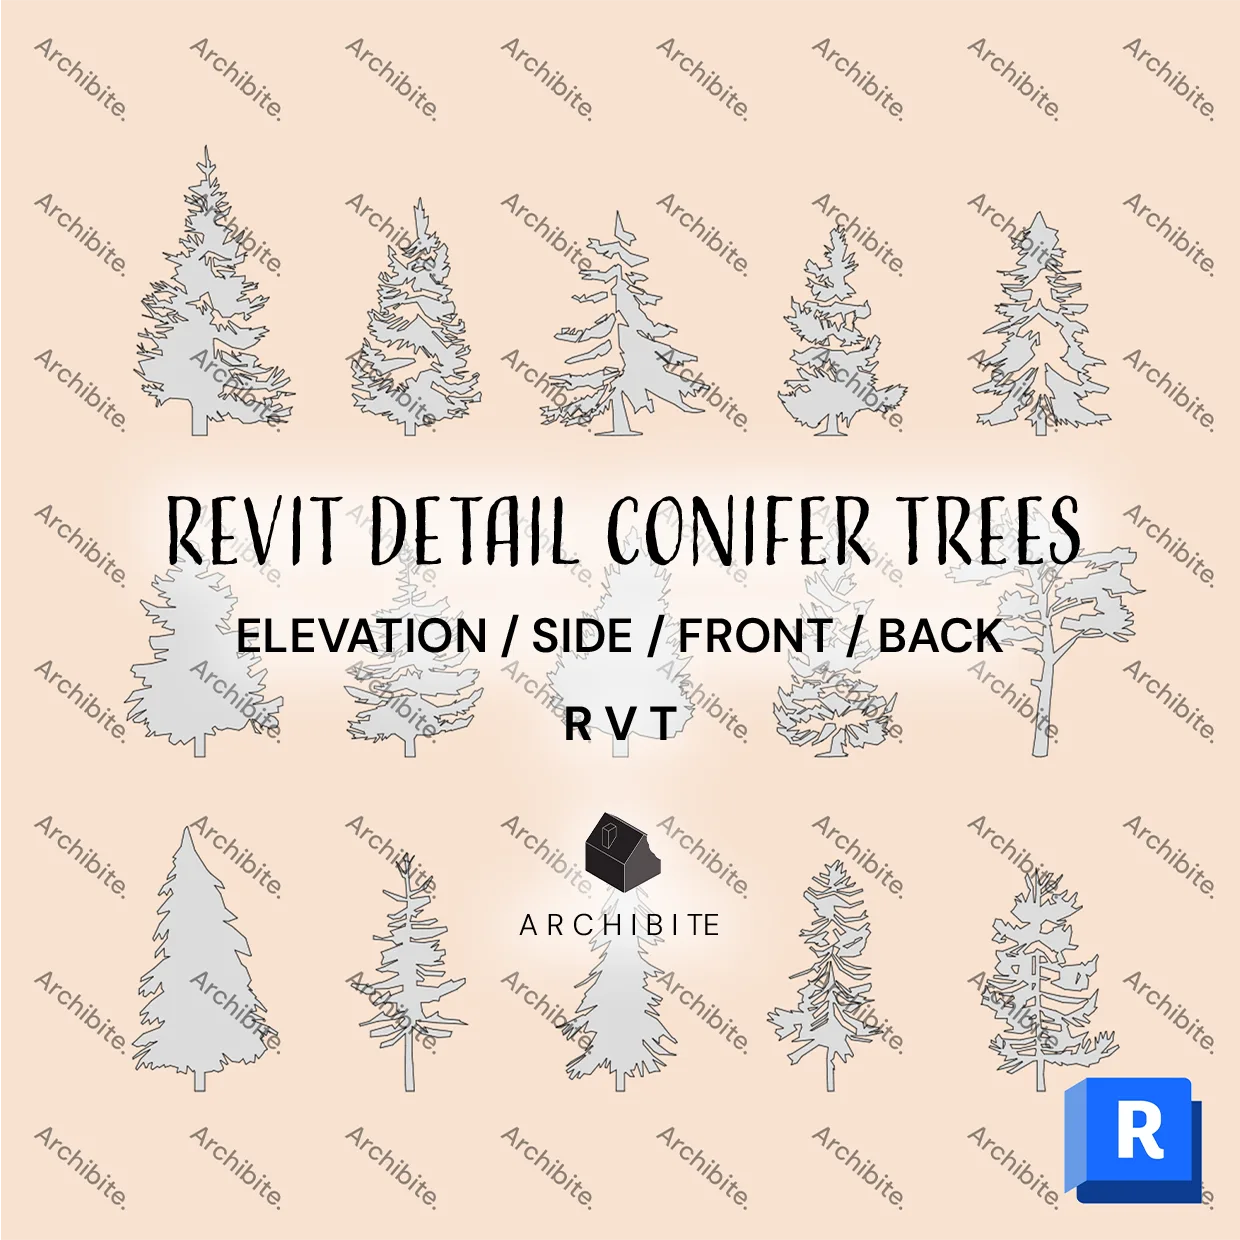
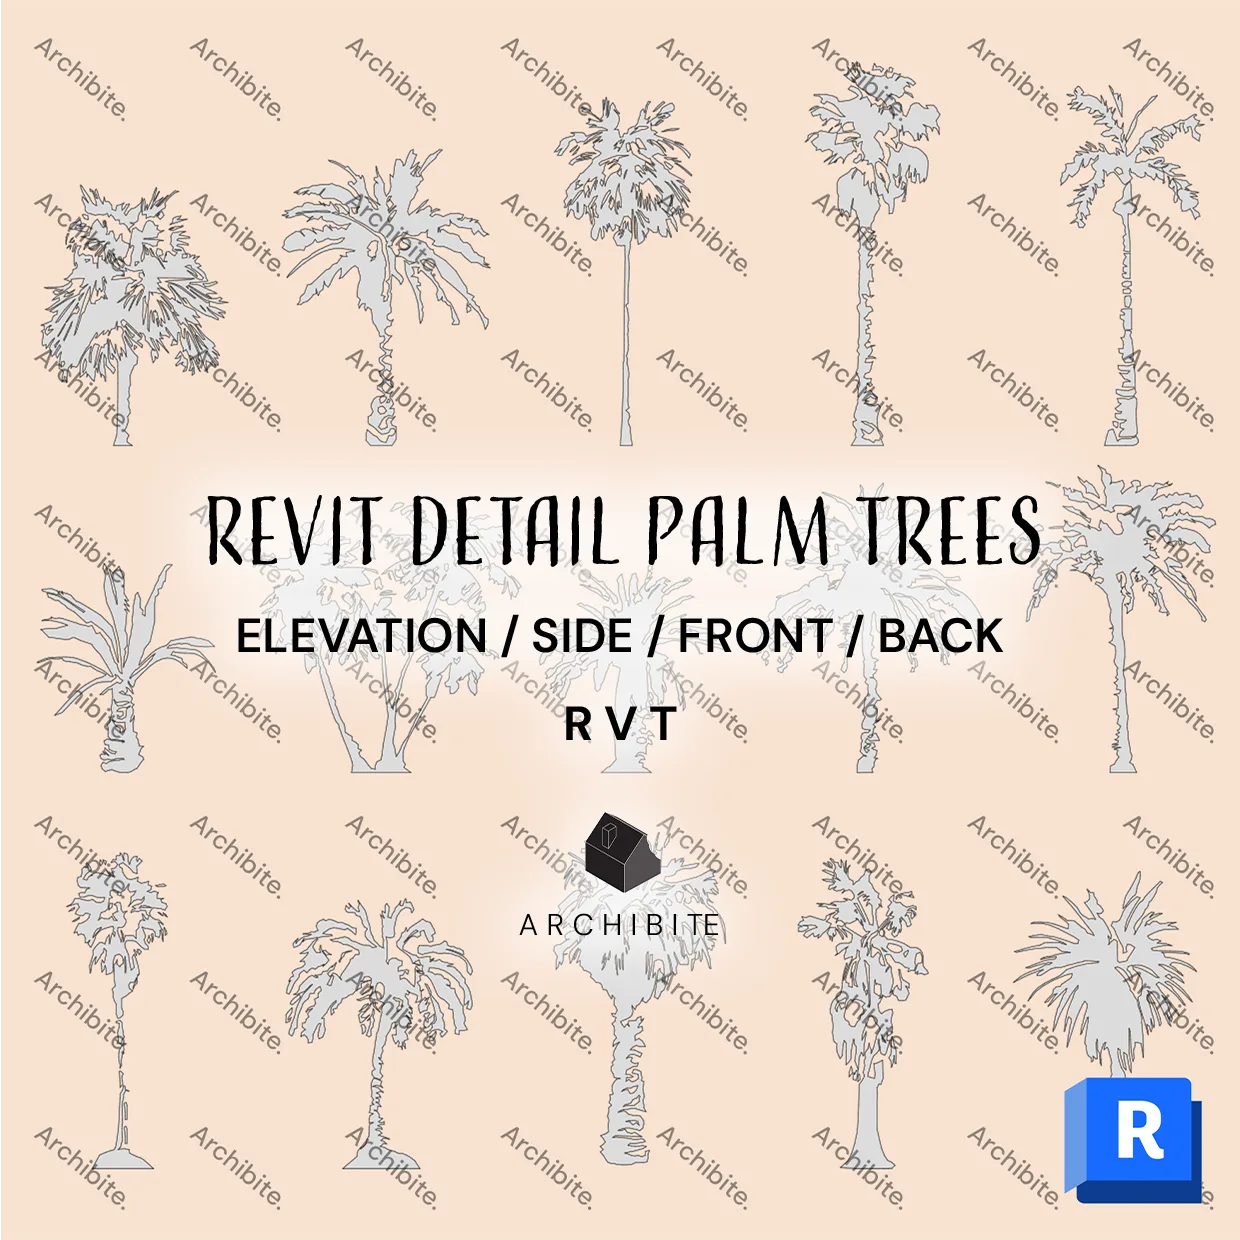
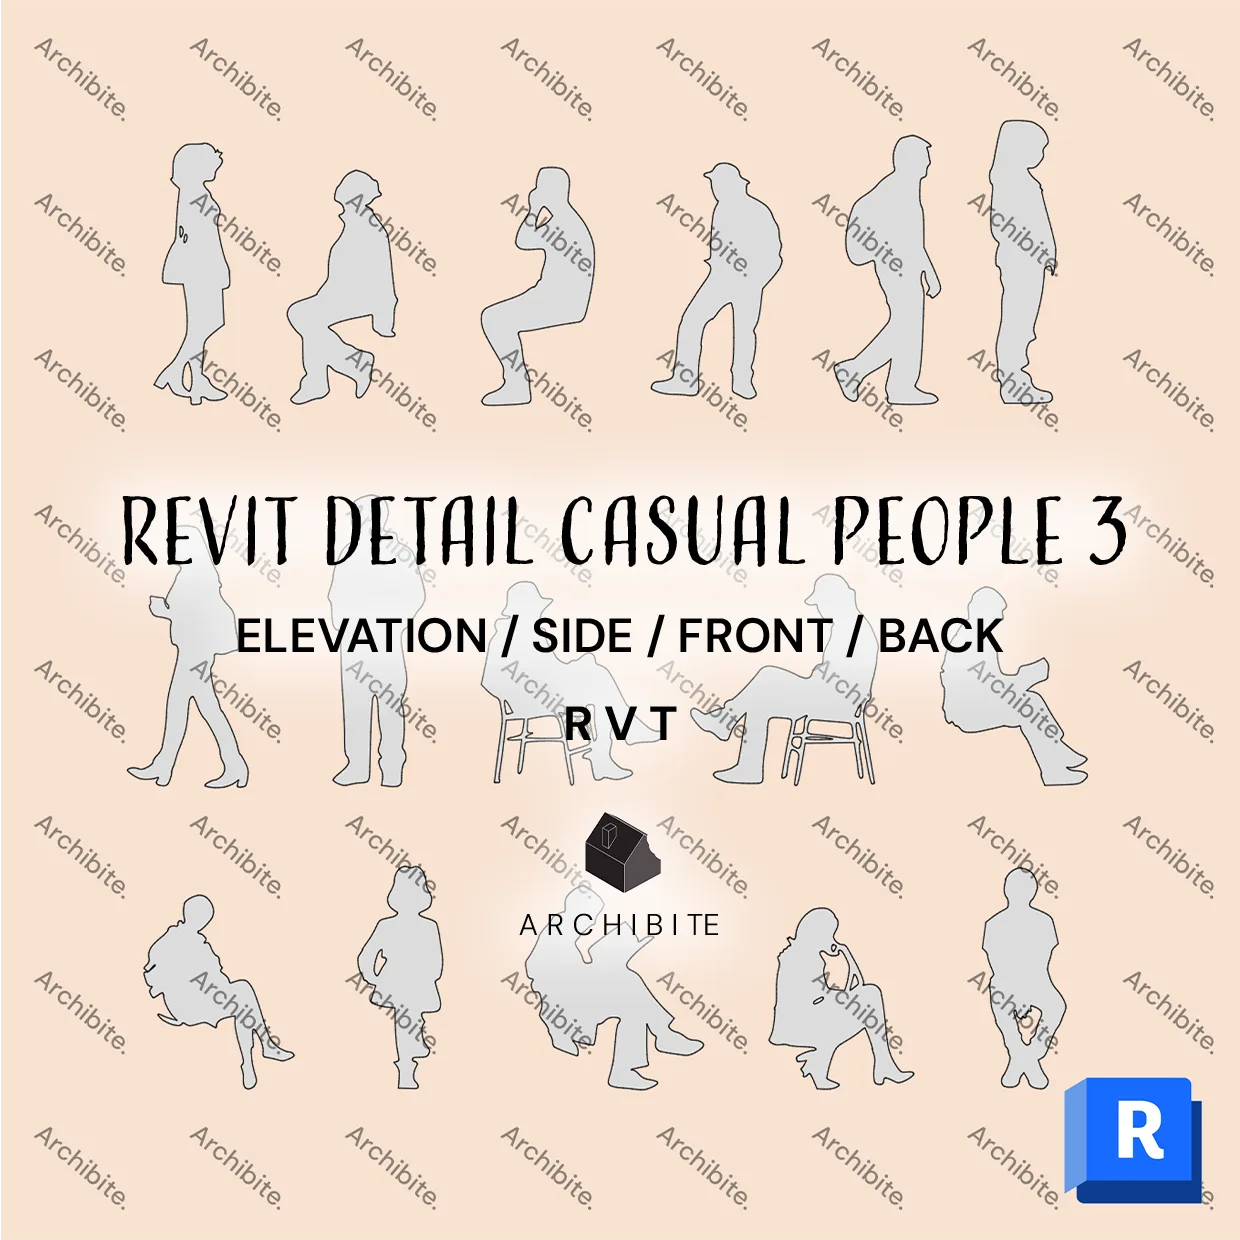
The key to post-processing your images in Revit is to have a proper library of assets to use. People tend to overlook adding 3D entourage in Revit due to file size issues, but utilizing 2D view specific Revit Detail Items keeps our file sizes small and our final product sharp.
Let’s look at some examples of quick post-processing within Revit with just some small stylistic choices and Detail Items.
Example 1
Here is a regular Revit floor plan, and next to it, is one “post-processed” within Revit with just a few detail items and some stylistic choices. The time it took to do this post-processing was about 5 minutes, and we needed only Revit and a few Archibite detail items to achieve this.


Example 2
Let’s look at another example of an elevation drawing. Obviously materials play into this a lot, but by utilizing simply built in tools and some Archibite detail items, we can achieve a post-processed look in minutes.


In Conclusion
As we can see from these examples, we can get relatively high quality, post-processed drawings full of life by simply utilizing some Detail Items and some minor representation adjustments.
Head on over to our shops Revit section to check out our selection of detail items to bring your drawings to life: quickly, easily and with room for later changes.