
In many cases we can skip post processing completely and do it all in Revit (see our tutorial on that here). But let’s face it: Revit drawings can often end up looking a little “Revity”. So how do we post-process our drawings the smart-way: to keep things non-destructive and allow for changes while still having the designs look amazing?
Often tutorials present you with fully finished projects that they just simply pop into Illustrator and start exploding into different layers without any considerations for changes. But that’s obviously not how reality works: often our bosses or professors will suggest changes to our designs, or we get last minute ideas, and then we would need to re-do the whole drawing!
So since nobody is perfect, we need to be prepared for changes in our drawings and how to adapt to these within our workflow.
In this short tutorial, we’ll show you how to PROPERLY post-process your Revit- drawings; so you can minimize your program load, allow for future changes and still make your designs look great!
Program Selection - Less is more!
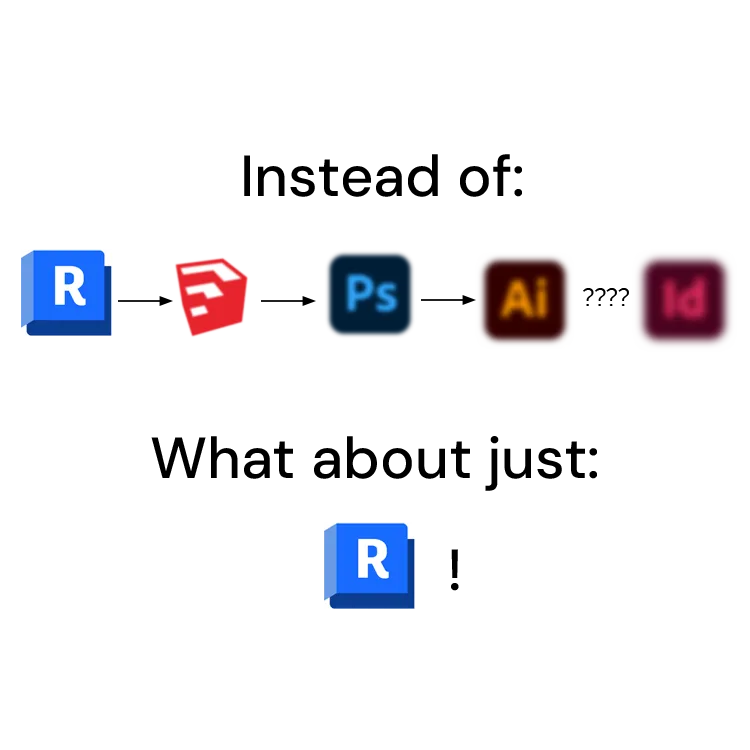
The more programs we add into our tool palette and workfklow, the less control we have over changes, the more chaotic the upkeep of these images become and the less time we have for actual designing.
Multiple programs are also costly to upkeep nowadays, as almost all useful programs are on a monthly or yearly payment basis.
Let’s go case-by-case how I personally keep my program workflow most of the time:
Case 1: Simple floor plans and sections
Revit = Final Image!
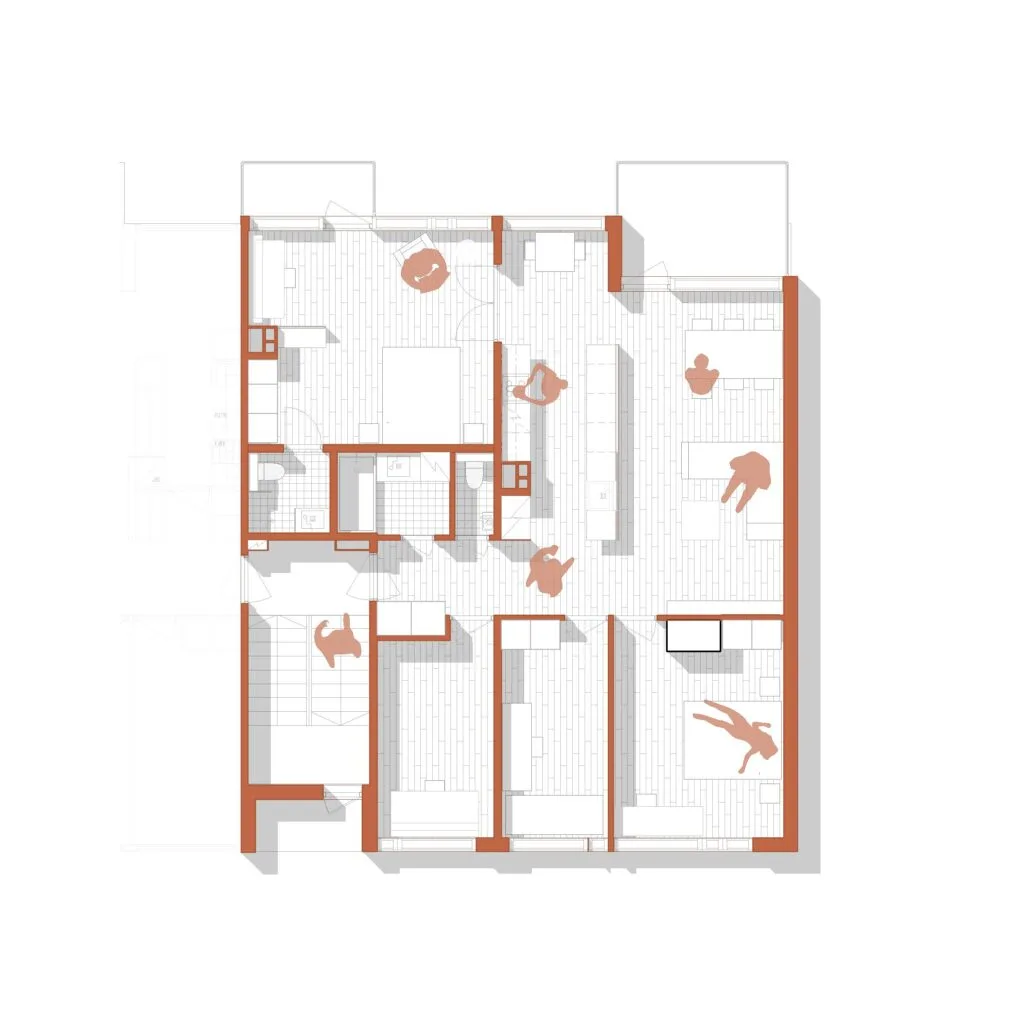
With most regular drawings such as floor plans, detail drawings and sections, we should aim to skip post-processing in other programs completely. We can also often do this with other drawings as well such as elevations and axonometries depending on the final stylistic choice.
Styling these drawings can be done to a high level right within Revit, all the way to adding entourage, planting, furniture etc. by utilizing Revit Detail Items.
Skipping post-processing in other programs keeps the drawings flexible until deadline day and keeps your post-processing effort in the drawings where you actually need it.
Case 2: Visually enhanced drawings
Revit + Photoshop = Final Image
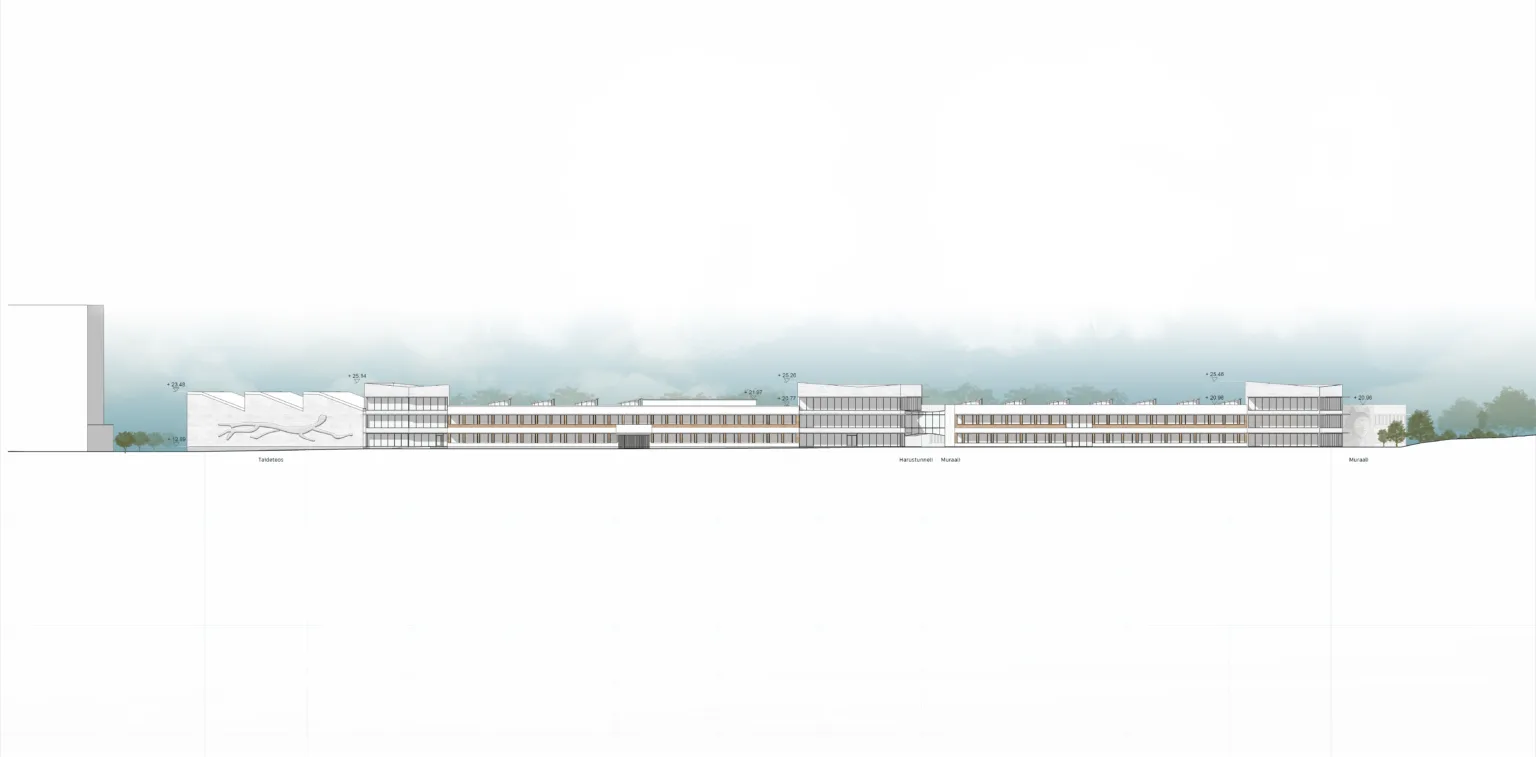
When we need that added pizzazz that Revit simply cannot give, we can add Photoshop as a necessary second step. This might be especially needed with axonometries and stylized facade drawings.
Whenever we add another step between programs, we need to always keep our file route non-destructive and clear. We need to export our base image with the same name and always link it in Photoshop to allow future updates in the base image. We should lock our base image and not make any changes to it.
Case 3: Architectural renders
Revit + Visualization Plug-in + Photoshop = Final Image

Utilizing a visualization plug-in such as Enscape right within Revit allows you an immense amount of flexibility compared to exporting the model into other programs.
For simple and quick project presentations, skipping the Photoshop phase might be totally valid as well.
Textures - Keep it non-destructive!

Whenever possible, the textures that we are presenting should always be presented within Revit, to lessen the amount of work that needs to be done in post-processing.
However, this is not always possible as the end result might not be quite what you’re looking for visually, so we might need to enhance the visual style in Photoshop.
As mentioned previously, we need to keep our texture placing non-destructive by utilizing masks in Photoshop. This way we can always adjust the borders of the mask whenever changes have been made to our drawings.
Entourage - Keep it simple!

Whenever possible, we should add our entourage right within Revit to keep the workflow simple and organized. Having quality Revit- families that look good in different views and are categorized correctly is the key here. Luckily, Archibite has a great selection of Detail Item families to help you with this.
Some might like to keep this phase totally separate from the model for size reasons which is fine as well. Do note, that Revit Detail Items are typically quite small in file size, are not 3D BIM objects so don’t clutter up your other images, and are often enough to add those finishing touches to most architectural drawings.
Conclusion
I hope these pointers have helped you with keeping your workflow simple and effective. Having a smart program workflow helps you achieve your design goals by allowing flexibility and freedom, and ultimately, having a simple and cohesive visual style can often help you present your designs much more effectively.
If you need some helpful post-processing tools, hop on over to our shop and explore for example Photoshop Brushes, Revit Detail Items and Textures to make those visualizations pop!
Here's some Archibite brushes to help you with post-processing your drawings!


Photoshop Brushes Hand Drawn Simple Trees Elevation 2
No ratings yet


